Growing your own ginger at home is one of the most satisfying gardening projects you can take up. Known for its strong aroma, rich flavor, and countless health benefits, ginger is a kitchen essential and a natural remedy for many ailments. Whether used in teas, curries, or home remedies, fresh ginger adds a depth of flavor and wellness that store-bought ones often lack. The good news is that growing ginger at home doesn’t require a large garden or special equipment just patience, the right environment, and consistent care. With these seven expert tips, you can cultivate healthy, nutrient-rich ginger at home for a thriving harvest.
1. Choose the Right Ginger Variety
The foundation of a successful ginger harvest starts with selecting the right variety. Each type of ginger has distinct characteristics suited for different uses.
- Common Culinary Ginger (Zingiber officinale): The most popular variety used for cooking. It’s aromatic, flavorful, and easy to grow at home.
- Ornamental Varieties: Such as Zingiber zerumbet (shampoo ginger) and Zingiber mioga (Japanese ginger) grown for decorative purposes or mild flavor.
When purchasing ginger rhizomes, follow these important points:
- Select plump, firm pieces with multiple “eyes” or buds. These are the spots where new shoots will emerge.
- Avoid wrinkled, shriveled, or moldy pieces.
- Choose organic ginger whenever possible, as non-organic ones are often treated with growth inhibitors that prevent sprouting.
- If buying from a store, soak the rhizomes overnight in water to remove any chemical residues before planting.
By starting with healthy, untreated rhizomes, you ensure strong growth and higher nutrient content in your plants.
2. Prepare the Ideal Growing Medium
Ginger thrives in loose, fertile soil that drains well yet retains adequate moisture. It doesn’t do well in compacted or soggy soil, which can cause root rot.
To create the perfect soil mix:
- Combine one part garden soil, one part compost or well-rotted manure, and one part sand or coco peat.
- Maintain the soil’s pH level between 6.0 and 6.5, which is slightly acidic to neutral.
- Add organic matter such as leaf mold or composted kitchen waste to enrich the soil with nutrients.
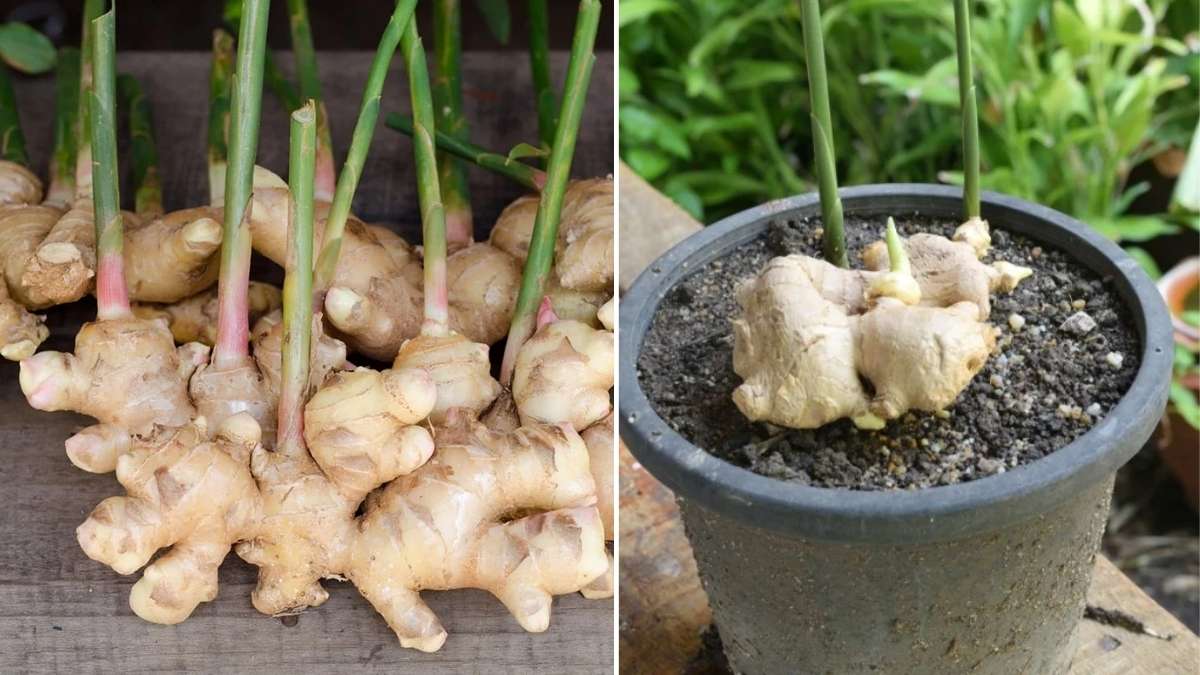
If you’re growing ginger in containers:
- Choose wide and shallow pots, as ginger rhizomes grow horizontally rather than vertically.
- Ensure the container has good drainage holes to prevent water stagnation.
- Line the bottom of the pot with gravel or broken terracotta pieces for better drainage.
A healthy, well-prepared growing medium will encourage faster sprouting, stronger roots, and more flavorful rhizomes.

3. Pre-Sprout the Rhizomes for a Healthy Start

Pre-sprouting your ginger before planting gives it a significant head start and ensures better germination. This step mimics the natural growth process that occurs in warm, humid conditions.
Follow these simple steps to pre-sprout ginger:
- Soak the rhizomes in warm water overnight to wake up dormant buds.
- Place them in a shallow tray or container lined with moist coconut coir, paper towels, or sawdust.
- Keep them in a warm, shaded area for 10–15 days.
- When small green shoots (about 1 inch tall) begin to appear, they are ready for planting.
Pre-sprouted ginger establishes roots quickly after planting and resists diseases better. This step also helps you identify viable rhizomes before putting them in the soil, ensuring only healthy pieces are planted.
4. Plant at the Right Time and Depth
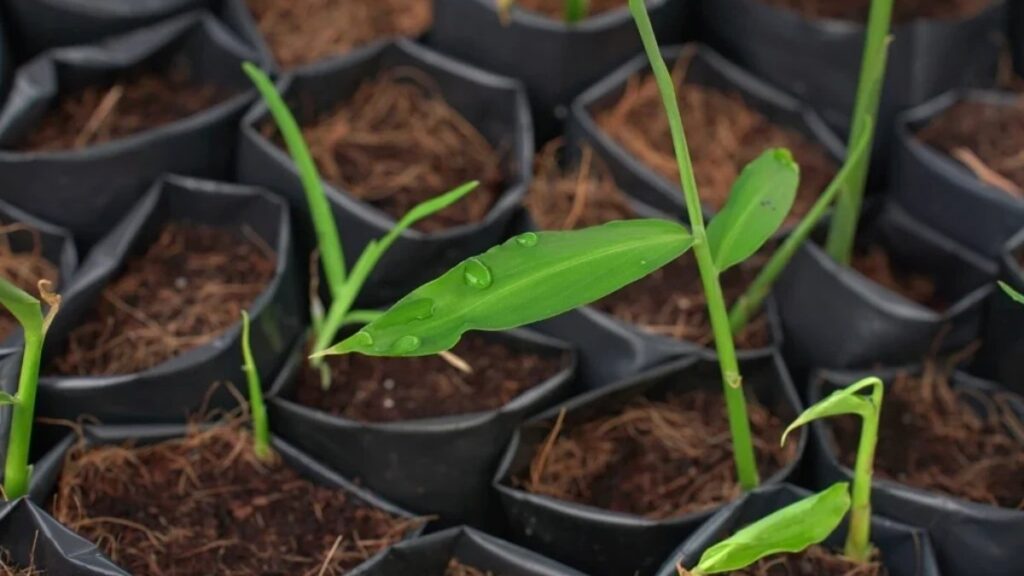
Timing and planting technique greatly influence your ginger yield. Ginger loves warmth and humidity, so it should be planted when conditions are ideal.
Here are key guidelines to follow:
- Best planting season: Late spring or early summer, when soil temperatures consistently stay above 20°C (68°F).
- Planting depth: Bury each rhizome 2–3 inches deep, ensuring the buds face upward.
- Spacing: Keep at least 8–10 inches between rhizomes to allow room for expansion.
- Soil cover: Lightly cover the planted rhizomes with soil and water gently.
Avoid pressing the soil too tightly. Ginger grows best in loose, well-aerated soil that allows the roots to expand easily. In colder regions, ginger can be planted indoors in containers and moved outside once the temperature rises.
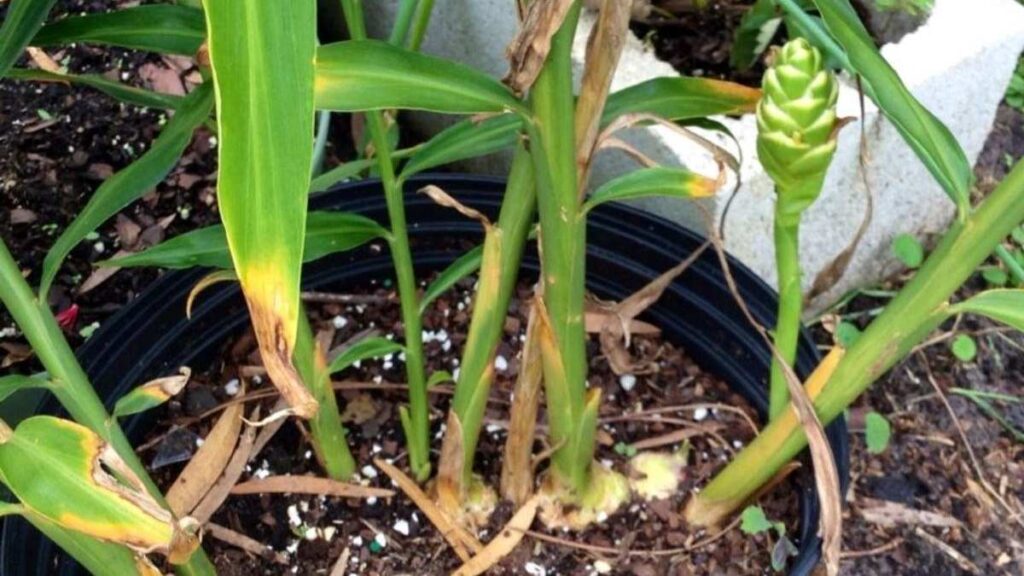
5. Maintain Moisture and Warmth
Once planted, consistent moisture and warmth are essential for ginger’s growth. It’s a tropical plant that thrives in humid environments.
Keep these points in mind for maintaining ideal growing conditions:
- Water regularly to keep the soil moist but never soggy.
- Check the top layer of soil if it feels dry, it’s time to water.
- During dry or hot periods, increase watering frequency slightly.
- Use organic mulch (such as straw, leaves, or grass clippings) around the base of the plants to:
- Retain moisture
- Keep the soil temperature stable
- Prevent weed growth
- Enrich the soil as the mulch decomposes
If you live in a cooler climate:
- Grow ginger in a warm indoor spot, like near a sunny window or in a greenhouse.
- Maintain temperatures between 25°C and 30°C (77°F–86°F) for best results.
Avoid exposing ginger to direct, harsh sunlight for long hours, as it prefers partial shade.
6. Feed Your Ginger for Maximum Nutrients
Nutrient-rich ginger comes from nutrient-rich soil. Regular feeding with organic fertilizers ensures the rhizomes are packed with flavor and beneficial compounds.
Feeding tips for healthy growth:
- Use organic compost or vermicompost as the primary fertilizer.
- During the early growth stage, apply a nitrogen-rich fertilizer to promote healthy foliage.
- As the plants mature, switch to phosphorus and potassium-rich feed to encourage strong rhizome development.
- You can also feed the plants every 2–3 weeks with compost tea or liquid seaweed fertilizer.
Natural fertilizers like cow dung manure, bone meal, or neem cake can be used to enhance soil fertility and ward off pests.
Watch for signs of nutrient deficiency:
- Yellowing leaves: May indicate lack of nitrogen or overwatering.
- Stunted growth: Could be a result of poor soil nutrition or compacted roots.
Regular feeding and care will ensure that your ginger roots grow large, juicy, and full of nutrients.
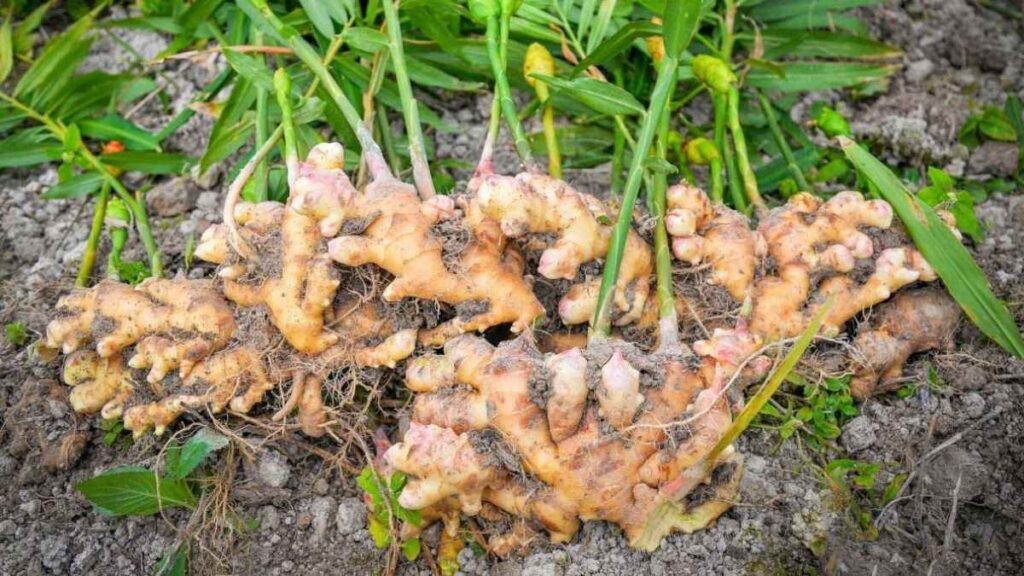
7. Harvest and Store the Right Way
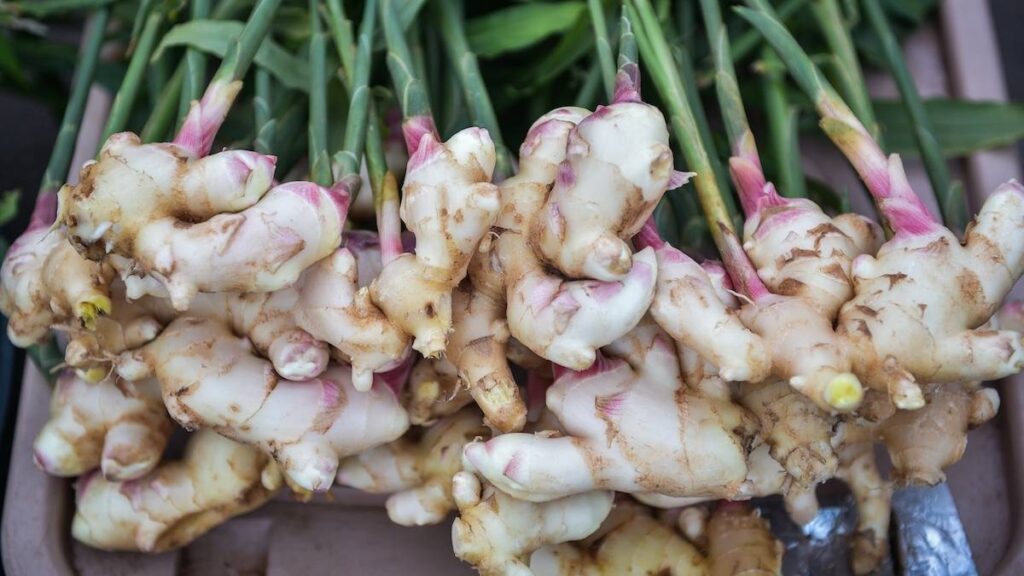
Harvesting ginger at the right time is crucial to getting the best flavor and texture. Depending on how you plan to use it, you can harvest early for tender roots or later for mature rhizomes.
Harvesting guidelines:
- For young ginger: Harvest after 5–6 months when the leaves are still green and the skin is thin.
- For mature ginger: Wait 8–10 months until the leaves start turning yellow and dry out naturally.
- Use your hands or a garden fork to gently loosen the soil and lift the rhizomes.
- Shake off excess soil and cut off the stems.
- Wash the rhizomes with clean water and let them dry in a shaded area.
Storage tips:
- Store harvested ginger in a cool, dry place away from sunlight.
- For longer preservation, keep it in the refrigerator or freezer.
- You can also sun-dry or dehydrate ginger slices for long-term use.
- Always set aside a few healthy rhizomes for your next planting cycle.
Proper harvesting and storage maintain ginger’s flavor, aroma, and nutritional quality for months.
Additional Tips for Thriving Ginger Plants
- Avoid overwatering. Ginger roots rot easily in stagnant water.
- Rotate planting areas each season to prevent pest buildup and nutrient depletion.
- Use pest-repelling plants nearby, like lemongrass or marigolds, to deter insects naturally.
- Be patient. Ginger grows slowly but steadily, and with consistent care, it rewards you with a rich, flavorful yield.
Final Thoughts
Growing ginger at home is a rewarding experience that combines patience, care, and nature’s rhythm. With the right soil mix, regular watering, and organic nourishment, you can cultivate ginger that’s bursting with flavor and nutrition. Whether grown in pots on your balcony or in your backyard garden, ginger requires minimal maintenance once established.
Homegrown ginger is fresher, healthier, and far more aromatic than store-bought varieties. By following these seven expert tips, you’ll not only enjoy a sustainable harvest but also develop a deeper appreciation for this remarkable plant. Each step from choosing quality rhizomes to harvesting brings you closer to the joy of growing your own spice, one that adds warmth, health, and life to your kitchen and beyond.