
Roses are one of the most loved flowers in the world, known for their beauty, fragrance, and elegance. Having a rose garden at home brings charm to any space, and the good news is you don’t need to buy new plants every time. You can easily propagate roses from existing plants with just a few tools and a little patience. Propagation allows you to grow new rose bushes that are identical to the parent plant, saving money and giving you the satisfaction of nurturing life from a small cutting. Let’s explore seven simple steps to successfully propagate rose plants at home.
1. Choose the Right Time and Healthy Parent Plant
The first step in rose propagation is timing. The best time to take cuttings is during late spring or early summer when the plant is actively growing. The weather is warm but not too hot, providing the perfect environment for root development. Choose a healthy, disease-free rose plant as your parent. Look for stems that are neither too young nor too old, ideally those that have just finished blooming. The stem should be firm and green, not woody or soft.
2. Prepare Your Tools and Materials
Before starting, gather all the necessary materials to make the process smooth. You’ll need a sharp pruning shear or knife, a clean glass jar or pot, potting soil or a mix of sand and peat, a small stick or pencil, and a rooting hormone (optional but helpful). Make sure all tools are clean to prevent infection or fungus growth on the new cuttings. Having everything ready beforehand makes the process easier and more organized.
3. Take the Rose Cutting


Select a healthy stem about six to eight inches long. Cut just below a node, which is the point where a leaf attaches to the stem. This area has the most potential for root growth. Remove all the leaves from the bottom half of the cutting, leaving only a couple of leaves on the top. If there are any flowers or buds, remove them too, as they can divert energy away from root formation. Dip the cut end of the stem into rooting hormone powder to encourage faster and stronger root growth.
4. Prepare the Pot or Planting Area
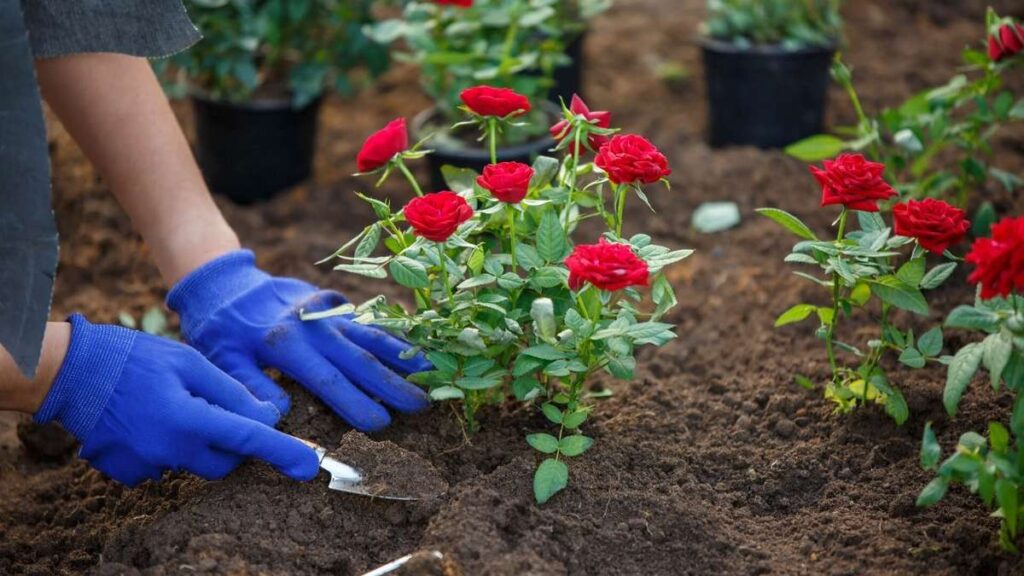
Now prepare the pot or container for planting. Use a mixture of equal parts potting soil and sand or perlite to ensure good drainage. Roses don’t like soggy soil, so proper aeration is important. Fill the pot with the soil mixture and gently press it down. Use a stick or pencil to make a small hole in the soil for the cutting. This prevents damage to the stem when planting. If you plan to plant directly in the garden, choose a spot with partial sunlight and loose, fertile soil.
5. Plant the Cutting
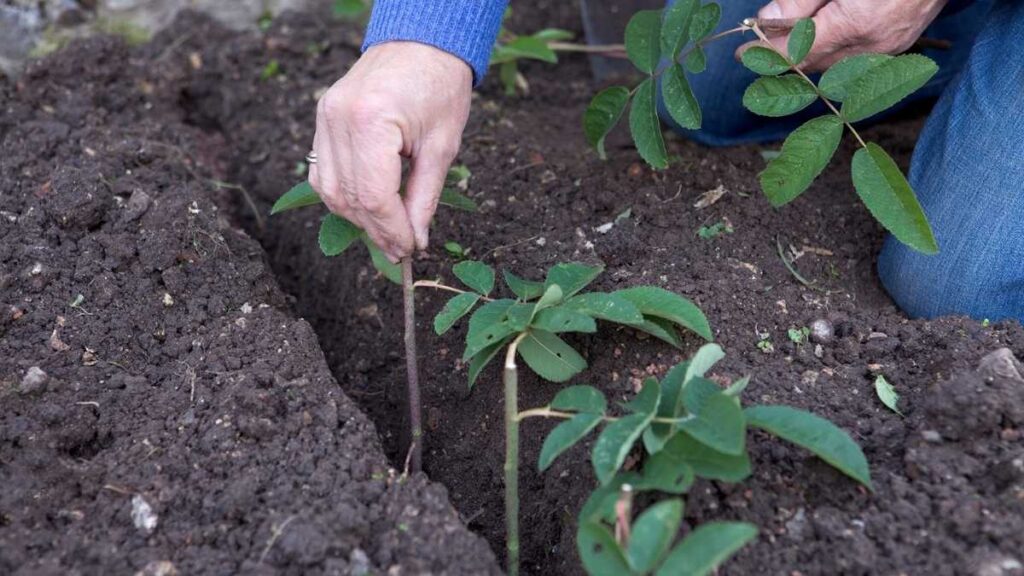
Place the prepared cutting into the hole about halfway down the stem, ensuring that at least two nodes are buried in the soil. Press the soil gently around the stem to hold it upright and remove any air pockets. Water the soil lightly to keep it moist but not soaked. Proper moisture helps the cutting settle and begin forming roots. Covering the pot with a plastic bag or a clear plastic bottle can create a mini greenhouse effect, maintaining humidity and warmth that encourages root development.
6. Provide Proper Care and Attention
Caring for the rose cutting is crucial in the early stages. Keep the pot in a bright but shaded area away from direct sunlight, as too much heat can dry out the cutting. Maintain consistent moisture by misting the soil regularly. Avoid overwatering, as it can lead to rot. After a few weeks, gently tug on the cutting to check for resistance, which indicates root growth. Once roots are established, gradually expose the plant to more sunlight so it can adapt to outdoor conditions.
7. Transplant the New Rose Plant
After six to eight weeks, the new roots should be strong enough for transplantation. Choose a sunny location with well-drained soil for your new rose plant. Dig a hole large enough to accommodate the root system without bending or crowding. Carefully remove the cutting from the pot, keeping as much of the soil around the roots as possible. Place the plant in the hole, cover it with soil, and water thoroughly. Adding a layer of mulch around the base helps retain moisture and keep the soil cool. Continue watering regularly until the plant is well established.

Caring for Your New Rose Plant
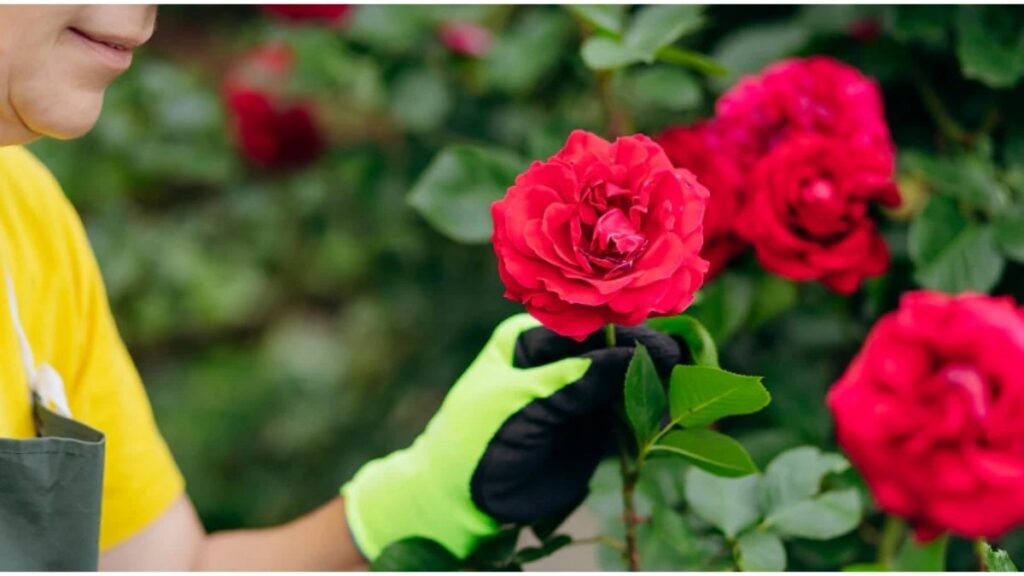
Once your propagated rose plant begins to grow, continue regular maintenance. Water deeply but infrequently, prune damaged leaves, and fertilize every few weeks during the growing season. Roses love sunlight, so ensure they receive at least six hours of sun daily. Keep an eye out for pests like aphids or powdery mildew and treat them promptly with organic or natural remedies. With proper care, your new rose plant will thrive and bloom beautifully, adding color and fragrance to your garden.
Conclusion
Propagating rose plants at home is not only simple but also rewarding. It allows you to multiply your favorite varieties and create a garden full of vibrant blooms without spending much. All it takes is patience, care, and the right technique. Whether you are an experienced gardener or a beginner, these seven steps make rose propagation easy and enjoyable. Soon, you’ll have a thriving rose collection that you nurtured yourself, bringing beauty and joy to your home garden.
Thanks for tip. I used to expose the rose plant to the sun and watered it everyday, unaware that I was kind of drowning it. I also did not cover the pot with plastic. We are now in early summer. Is it still the right to propagate?
Many thanks
I have given a comment earlier on. Please advise if have , and let me know if you’ve received it. I’d love to learn more about roses… on several attempts of propagation they finally died in the end.