Growing fruit trees on your balcony may sound like a dream, but it’s absolutely possible with the right approach. Plums are among the easiest and most rewarding fruits to grow in containers. Their beautiful blossoms, fragrant aroma, and juicy fruits make them perfect for small urban spaces. With a bit of care and the right techniques, you can enjoy homegrown, sweet plums right from your balcony. Here’s a detailed guide to help you grow healthy and delicious plums in pots, even if you’re a beginner.
Understand How to Grow Sweet Plums
Before diving into the planting process, it’s important to understand the basic needs of plum trees. Plums are sun-loving, moderate-water fruit trees that perform best in well-draining, fertile soil. They require a cold winter rest period and warm spring sunshine to produce abundant blossoms and fruits.
Key growing conditions for plums include:
- Sunlight: 6–8 hours of direct sunlight daily
- Temperature: Prefer mild to warm climates
- Soil: Loamy, fertile, and well-drained
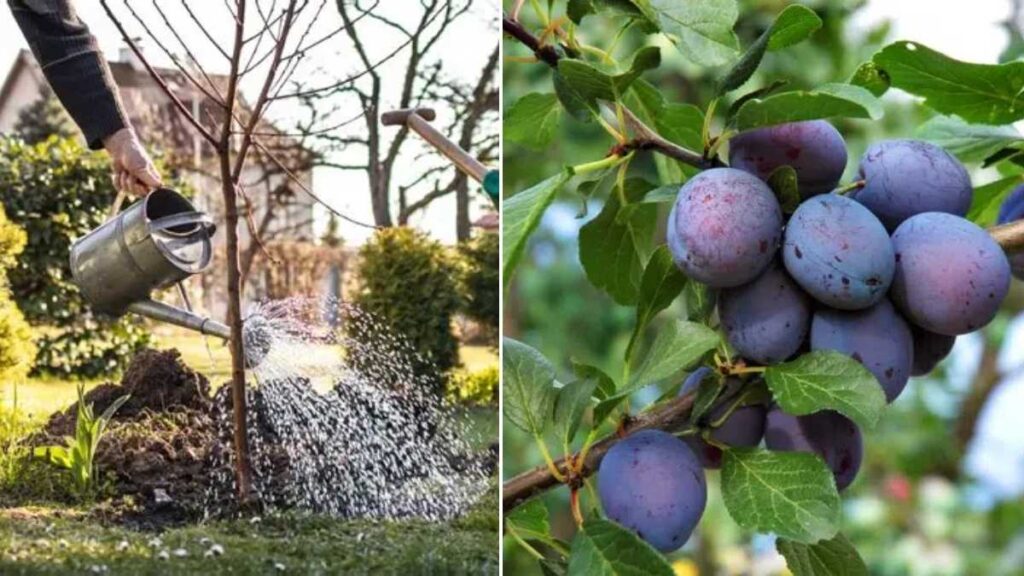
- Water: Regular but moderate watering
- Container size: Deep and wide enough for root growth
- Pruning: To shape, control size, and enhance fruiting
Once you understand these essentials, your chances of growing a healthy and productive plum tree increase dramatically.
Choosing the Right Plum Variety
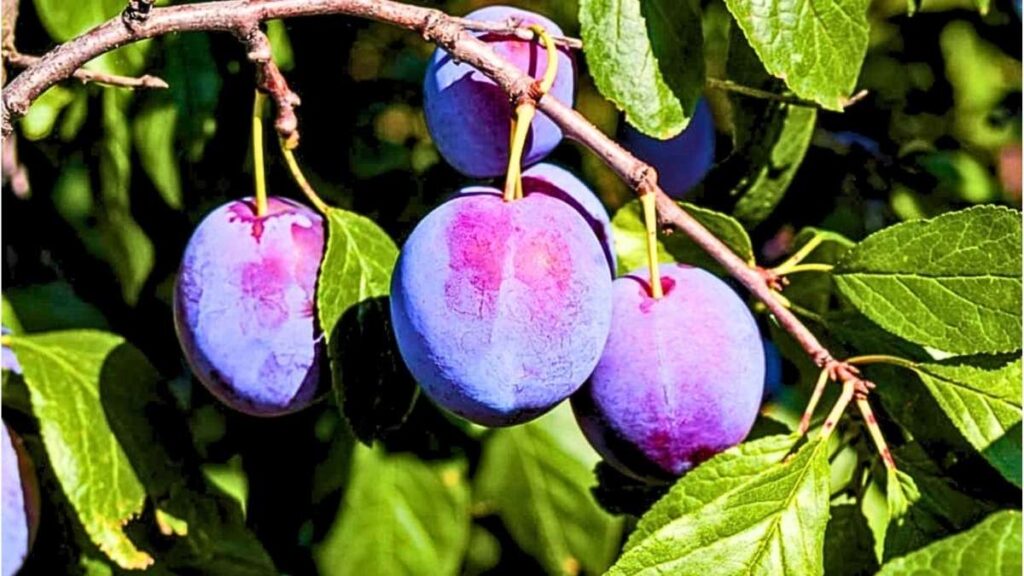
Not all plum trees are suitable for pots, so selecting the right type is crucial. Compact or dwarf varieties are perfect because they stay manageable while producing full-sized fruits.

Some recommended varieties include:
- Victoria – A classic, self-fertile variety with golden flesh
- Beauty – Early-bearing and adaptable to warm climates
- Methley – Sweet, self-pollinating, and thrives in containers
- Santa Rosa – Flavorful and productive with minimal maintenance
If you want an even better harvest, grow two compatible varieties for cross-pollination. Always check the label for self-fertility and climate compatibility.
Selecting the Right Container
Plum trees have deep roots, so the pot you choose should allow enough space for growth. A large container, at least 18–24 inches deep and wide, is ideal. Clay, wooden, or heavy-duty plastic pots all work, but ensure they have good drainage holes at the bottom. To prevent waterlogging, place a layer of gravel or broken terracotta at the base before adding soil. Using a saucer under the pot is fine, but never let water sit in it for long periods.
Preparing the Perfect Soil Mix
Plums prefer rich, well-draining soil that holds moisture without becoming soggy. A good mix for pots includes loamy garden soil, compost, and coarse sand or perlite. You can use a quality potting mix designed for fruit trees and enrich it with organic compost or aged manure. Avoid heavy clay soil, which can retain too much water and cause root rot. The soil pH should be slightly acidic to neutral, ideally between 6.0 and 7.0.
Planting Your Plum Tree
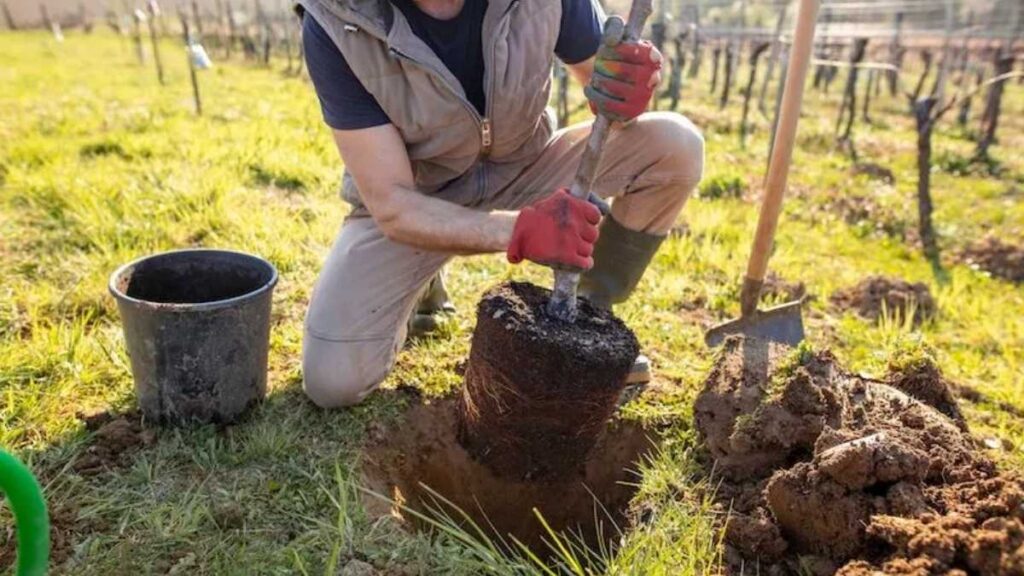
After preparing the soil and container, it’s time to plant.
Follow these steps:
- Carefully remove the tree from its nursery pot.
- Place it in the new pot, ensuring the root ball sits two inches below the rim.
- Fill around it with soil and press lightly to eliminate air pockets.
- Water thoroughly after planting.
- Keep the pot in a sunny, sheltered spot with good airflow.
This simple start helps your plum tree settle and grow strong roots.
Watering and Feeding
Water is essential, especially during fruit development, but too much can harm the roots.
- Check soil moisture regularly and water when the top inch feels dry.
- During hot months, water daily or every other day.
- Reduce watering in cooler months.
- Use a balanced liquid fertilizer every two weeks in spring and summer.
- Switch to a potassium-rich feed once flowers appear for sweeter fruit.
In winter, stop fertilizing and allow the tree to rest naturally.
Protecting from Pests and Diseases
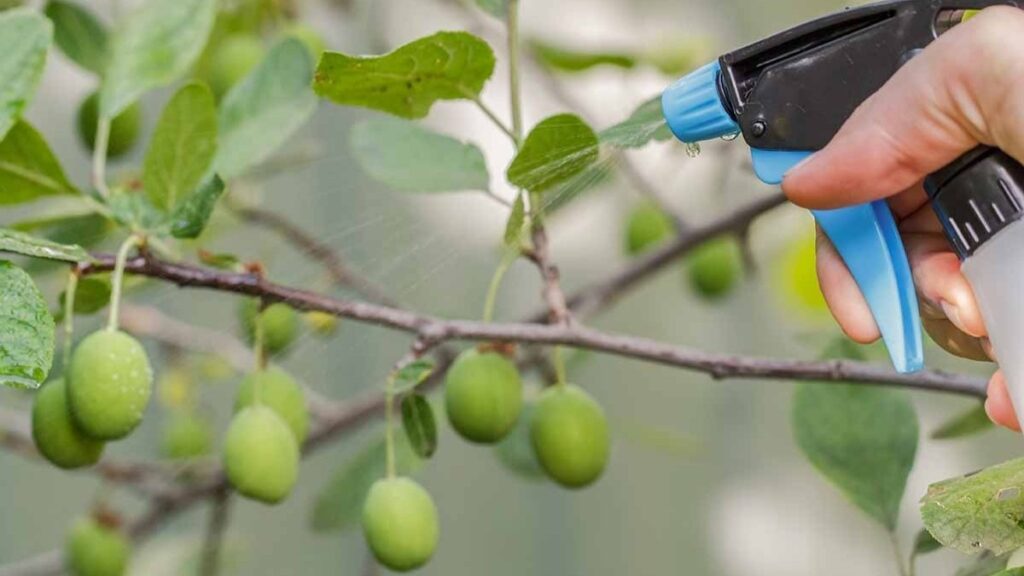
Container-grown plums are less prone to pests, but they still need monitoring. Common problems include aphids, spider mites, and fruit moths. You can control these with organic neem oil spray or insecticidal soap. Avoid chemical pesticides, especially on edible plants. Also, keep an eye out for fungal issues like leaf curl or brown rot. Good air circulation, proper pruning, and avoiding overwatering will prevent most diseases naturally.
Caring Through the Seasons
Plum trees are deciduous, meaning they shed their leaves in winter. During this time, reduce watering and stop feeding. If you live in an area with harsh winters, move the pot to a sheltered corner or wrap it with burlap to protect the roots from frost. In early spring, as buds appear, resume regular watering and fertilizing. Summer is the most crucial time for fruit development, so keep your tree well-watered and nourished. After harvest, give it a light trim and a layer of compost to prepare for the next cycle.
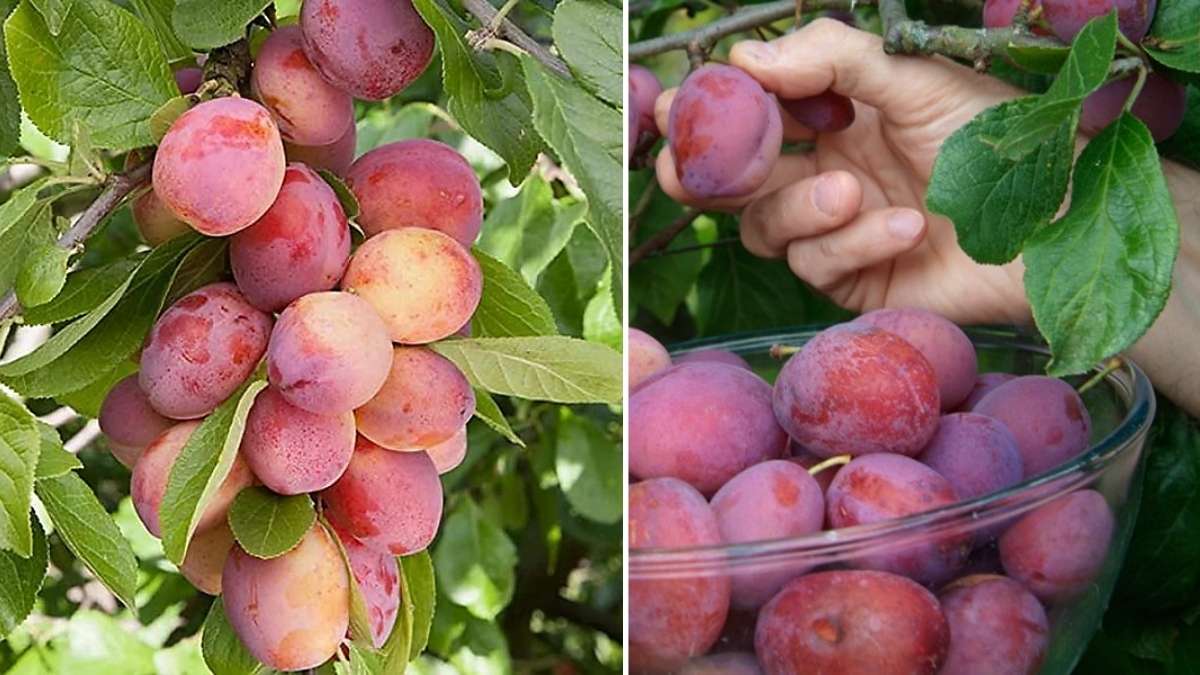
Harvesting and Enjoying Your Plums

Depending on the variety, plums take three to five months after flowering to ripen. The fruits are ready when they develop rich color and give slightly when gently pressed. Avoid picking them too early, as they won’t ripen well off the tree. Harvest carefully to avoid bruising. Freshly picked plums taste sweet and juicy, perfect for eating right away or using in jams, desserts, and smoothies. Growing them yourself gives you the joy of fresh, chemical-free fruit straight from your balcony.
Final Thoughts
Growing sweet plums in pots is a rewarding experience that combines beauty and flavor in one small space. With the right variety, proper care, and patience, you can enjoy abundant harvests year after year. Even a small balcony can become a mini orchard filled with fragrance, greenery, and the sweet satisfaction of homegrown fruit. So, grab a pot, choose your plum tree, and start your balcony fruit garden today. The effort will be well worth the taste of your first juicy plum.
I really enjoyed your views