Dahlias are one of the most striking flowers you can grow, bursting with color and elegance from midsummer right through to the first frost. But as the weather turns cold, gardeners in cooler regions face one big challenge: keeping their dahlia tubers safe through winter. Since dahlias are not frost-hardy, their tubers can easily rot or freeze if left in the ground. The good news is that storing them properly isn’t difficult it just takes some care and patience. Here’s a simple, step-by-step guide to help you store dahlia tubers successfully through the winter and enjoy another season of vibrant blooms next year.
Step 1: Wait for the First Frost
Before you begin digging up your dahlias, it’s important to let the first frost do its work. Once the frost hits, your dahlia foliage will turn black and wilt. This is a natural signal that the growing season is over. Waiting for this moment helps the plant move nutrients down into the tubers, strengthening them for winter storage. Don’t rush this stage; digging too early can leave your tubers weak and less likely to survive the cold months ahead.
Step 2: Cut Back the Foliage
After the first frost has blackened the leaves, cut the dahlia stems down to about 6 inches above the soil line. Use clean, sharp pruners to make neat cuts. Leaving a short stem makes it easier to handle the clump later and helps you label each variety if you have multiple colors or types. Remove any leftover leaves or debris from around the base to reduce the risk of mold or disease spreading to the tubers.
Step 3: Carefully Dig Up the Tubers
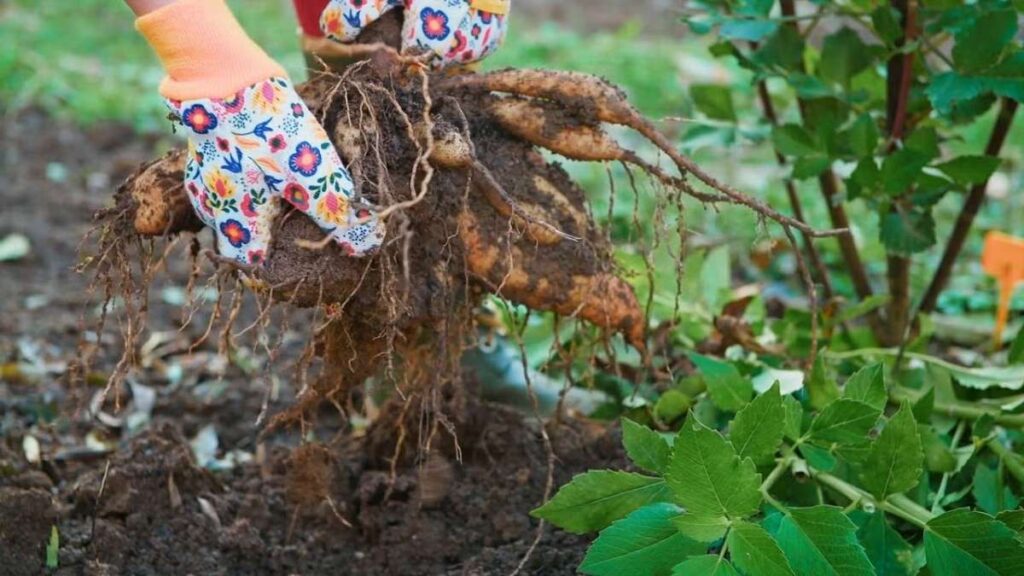

The next step is to dig up your dahlia tubers gently. Start by loosening the soil around the plant using a garden fork rather than a shovel. Keep a safe distance of about 6 to 8 inches from the main stem to avoid damaging the tubers, which can be quite delicate. Once the soil is loose, lift the clump out slowly, supporting it from underneath. Shake off the excess soil, but don’t try to wash or scrub the tubers just yet they’re still fragile at this stage.
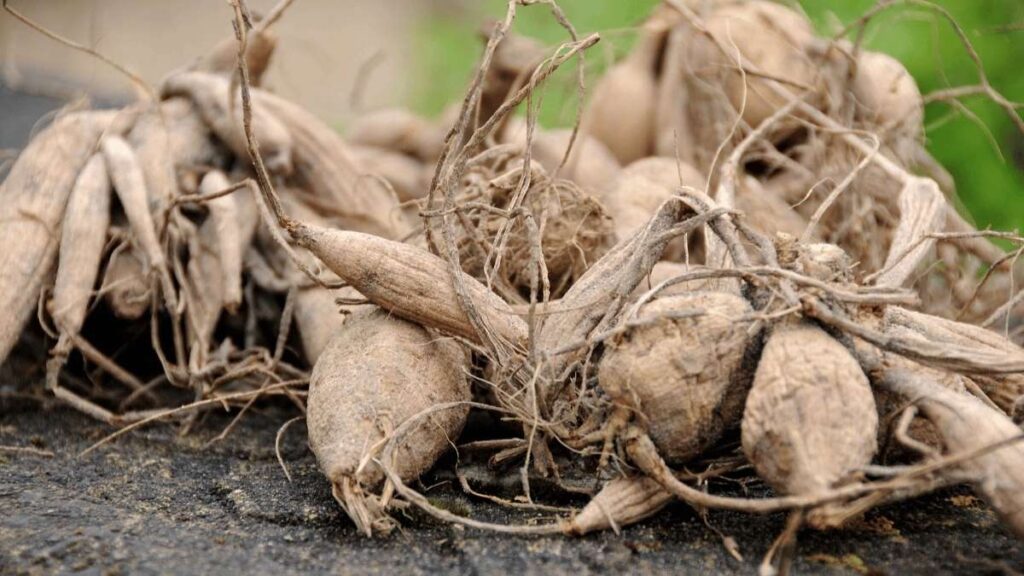
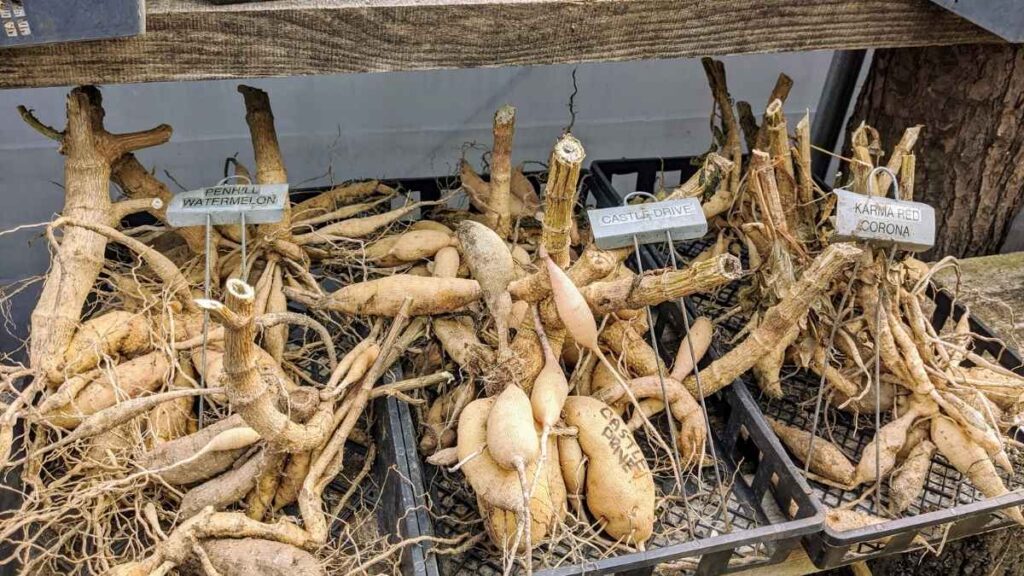
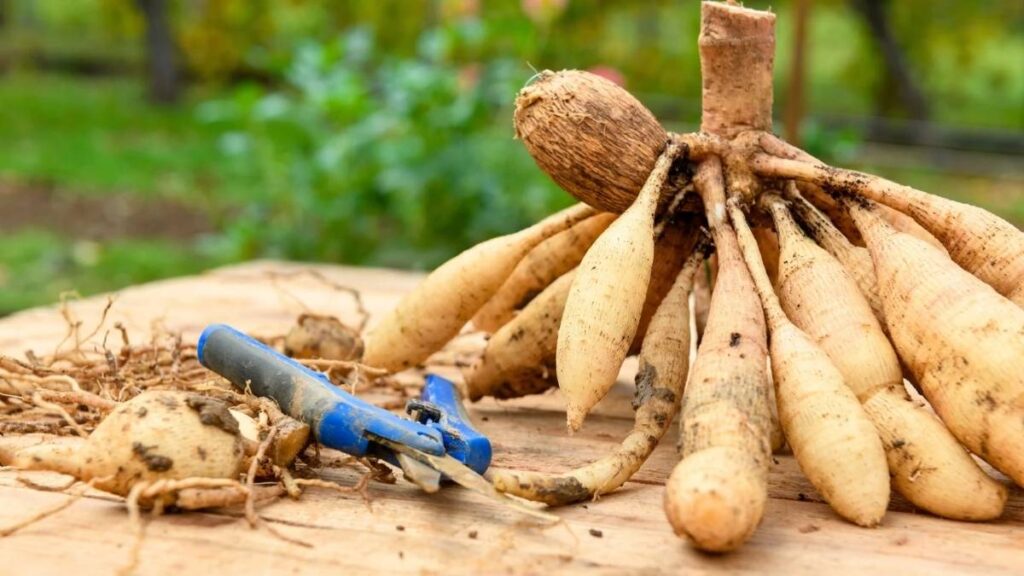
Step 4: Clean and Inspect the Tubers
Once you’ve dug up all your dahlia clumps, it’s time to clean them carefully. Use a soft brush or your hands to remove most of the soil. Rinsing the tubers with a gentle stream of water is fine, but be sure to let them dry completely before storing. After cleaning, inspect each tuber for damage, rot, or signs of disease. Soft, shriveled, or moldy sections should be trimmed away using a sterilized knife. Healthy tubers should feel firm and plump, with a smooth, unbroken surface.
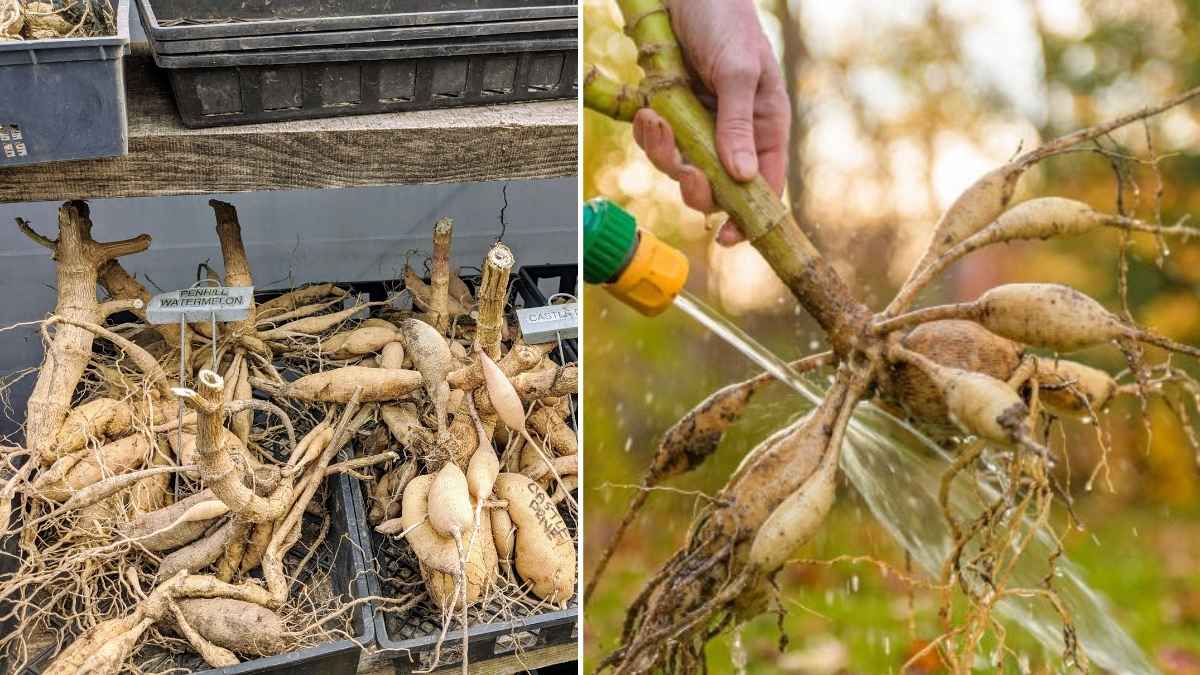
Step 5: Label Each Variety
If you grow several varieties of dahlias, this is the perfect time to label them. Once the tubers are dry, it can be hard to tell them apart. Attach a small tag to the stem or write directly on the tuber with a waterproof marker. Include details like the color or name of the variety. This small step saves a lot of confusion when it’s time to plant them again in spring.
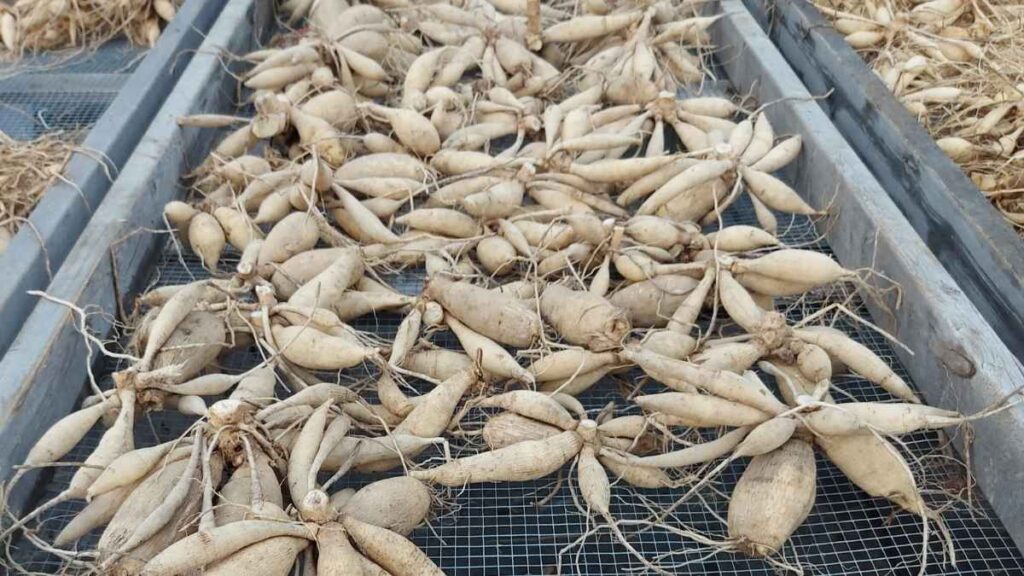
Step 6: Cure the Tubers Before Storage
Curing is one of the most important steps in preparing dahlia tubers for storage. Lay the cleaned tubers out in a single layer in a warm, dry, and dark area with good air circulation. A garage, basement, or covered porch works well. Let them sit for about one to two weeks so the outer skin can toughen up. This process helps prevent rot and mold during the long winter months. Make sure the temperature stays between 50 and 60 degrees Fahrenheit during curing.
Step 7: Choose the Right Storage Medium
Dahlia tubers need a dry but slightly humid environment to stay in good condition. Too much moisture can cause rot, while too little can make them shrivel. To strike a balance, pack the tubers in a box or crate filled with a medium that helps regulate moisture. Common options include slightly damp peat moss, vermiculite, sawdust, or wood shavings. Arrange the tubers in layers, making sure they don’t touch each other. This prevents them from spreading rot if one begins to spoil.
Step 8: Store in a Cool, Dark, and Dry Place
The ideal storage temperature for dahlia tubers is between 40 and 50 degrees Fahrenheit. A cool basement, unheated garage, or root cellar often works perfectly. Avoid places that freeze or have large temperature fluctuations. Keep the container in the dark and check the tubers once a month throughout the winter. If any appear to be rotting, remove them immediately. If they start to look too dry or shriveled, lightly mist the storage medium with water to restore some moisture.
Step 9: Divide Tubers in Late Winter or Early Spring
You can divide dahlia tubers either before storing them or just before replanting in spring. Most gardeners prefer to divide them in spring because it’s easier to see healthy eyes or buds at that time. Each divided section should have at least one eye and a portion of the crown to produce a new plant. Dividing helps you get more plants from your original stock and keeps the clumps from becoming overcrowded.
Step 10: Prepare for Planting Season
As spring approaches and the risk of frost fades, it’s time to wake up your tubers. Bring them into a warmer area a few weeks before planting to help them acclimate. Check them again for rot or shriveling, and discard any that didn’t make it through winter. Once the soil has warmed to at least 60 degrees Fahrenheit, your dahlias are ready to go back into the ground or pots. With proper storage, they’ll reward you again with a stunning display of blooms all summer long.
Final Thoughts
Storing dahlia tubers over winter might sound like a lot of work, but it’s actually a simple and rewarding part of gardening. The process allows you to preserve your favorite varieties year after year without needing to buy new plants each season. By taking the time to dig, cure, and store them correctly, you ensure healthy tubers that will burst back to life once the weather warms. With a little attention to detail and regular checks during winter, you can enjoy an endless cycle of colorful, thriving dahlias in your garden.